MY FIRST DIY PROJECT
MY FIRST DIY PROJECT
It’s been a long time coming, but I thought I would share my first ever upcycling project with you. This project was completed in the May of 2020 (during lockdown 1.0) which now feels a lifetime ago – but I have been wanting to share how it came to life with you since. So here we go… I hope you enjoy.
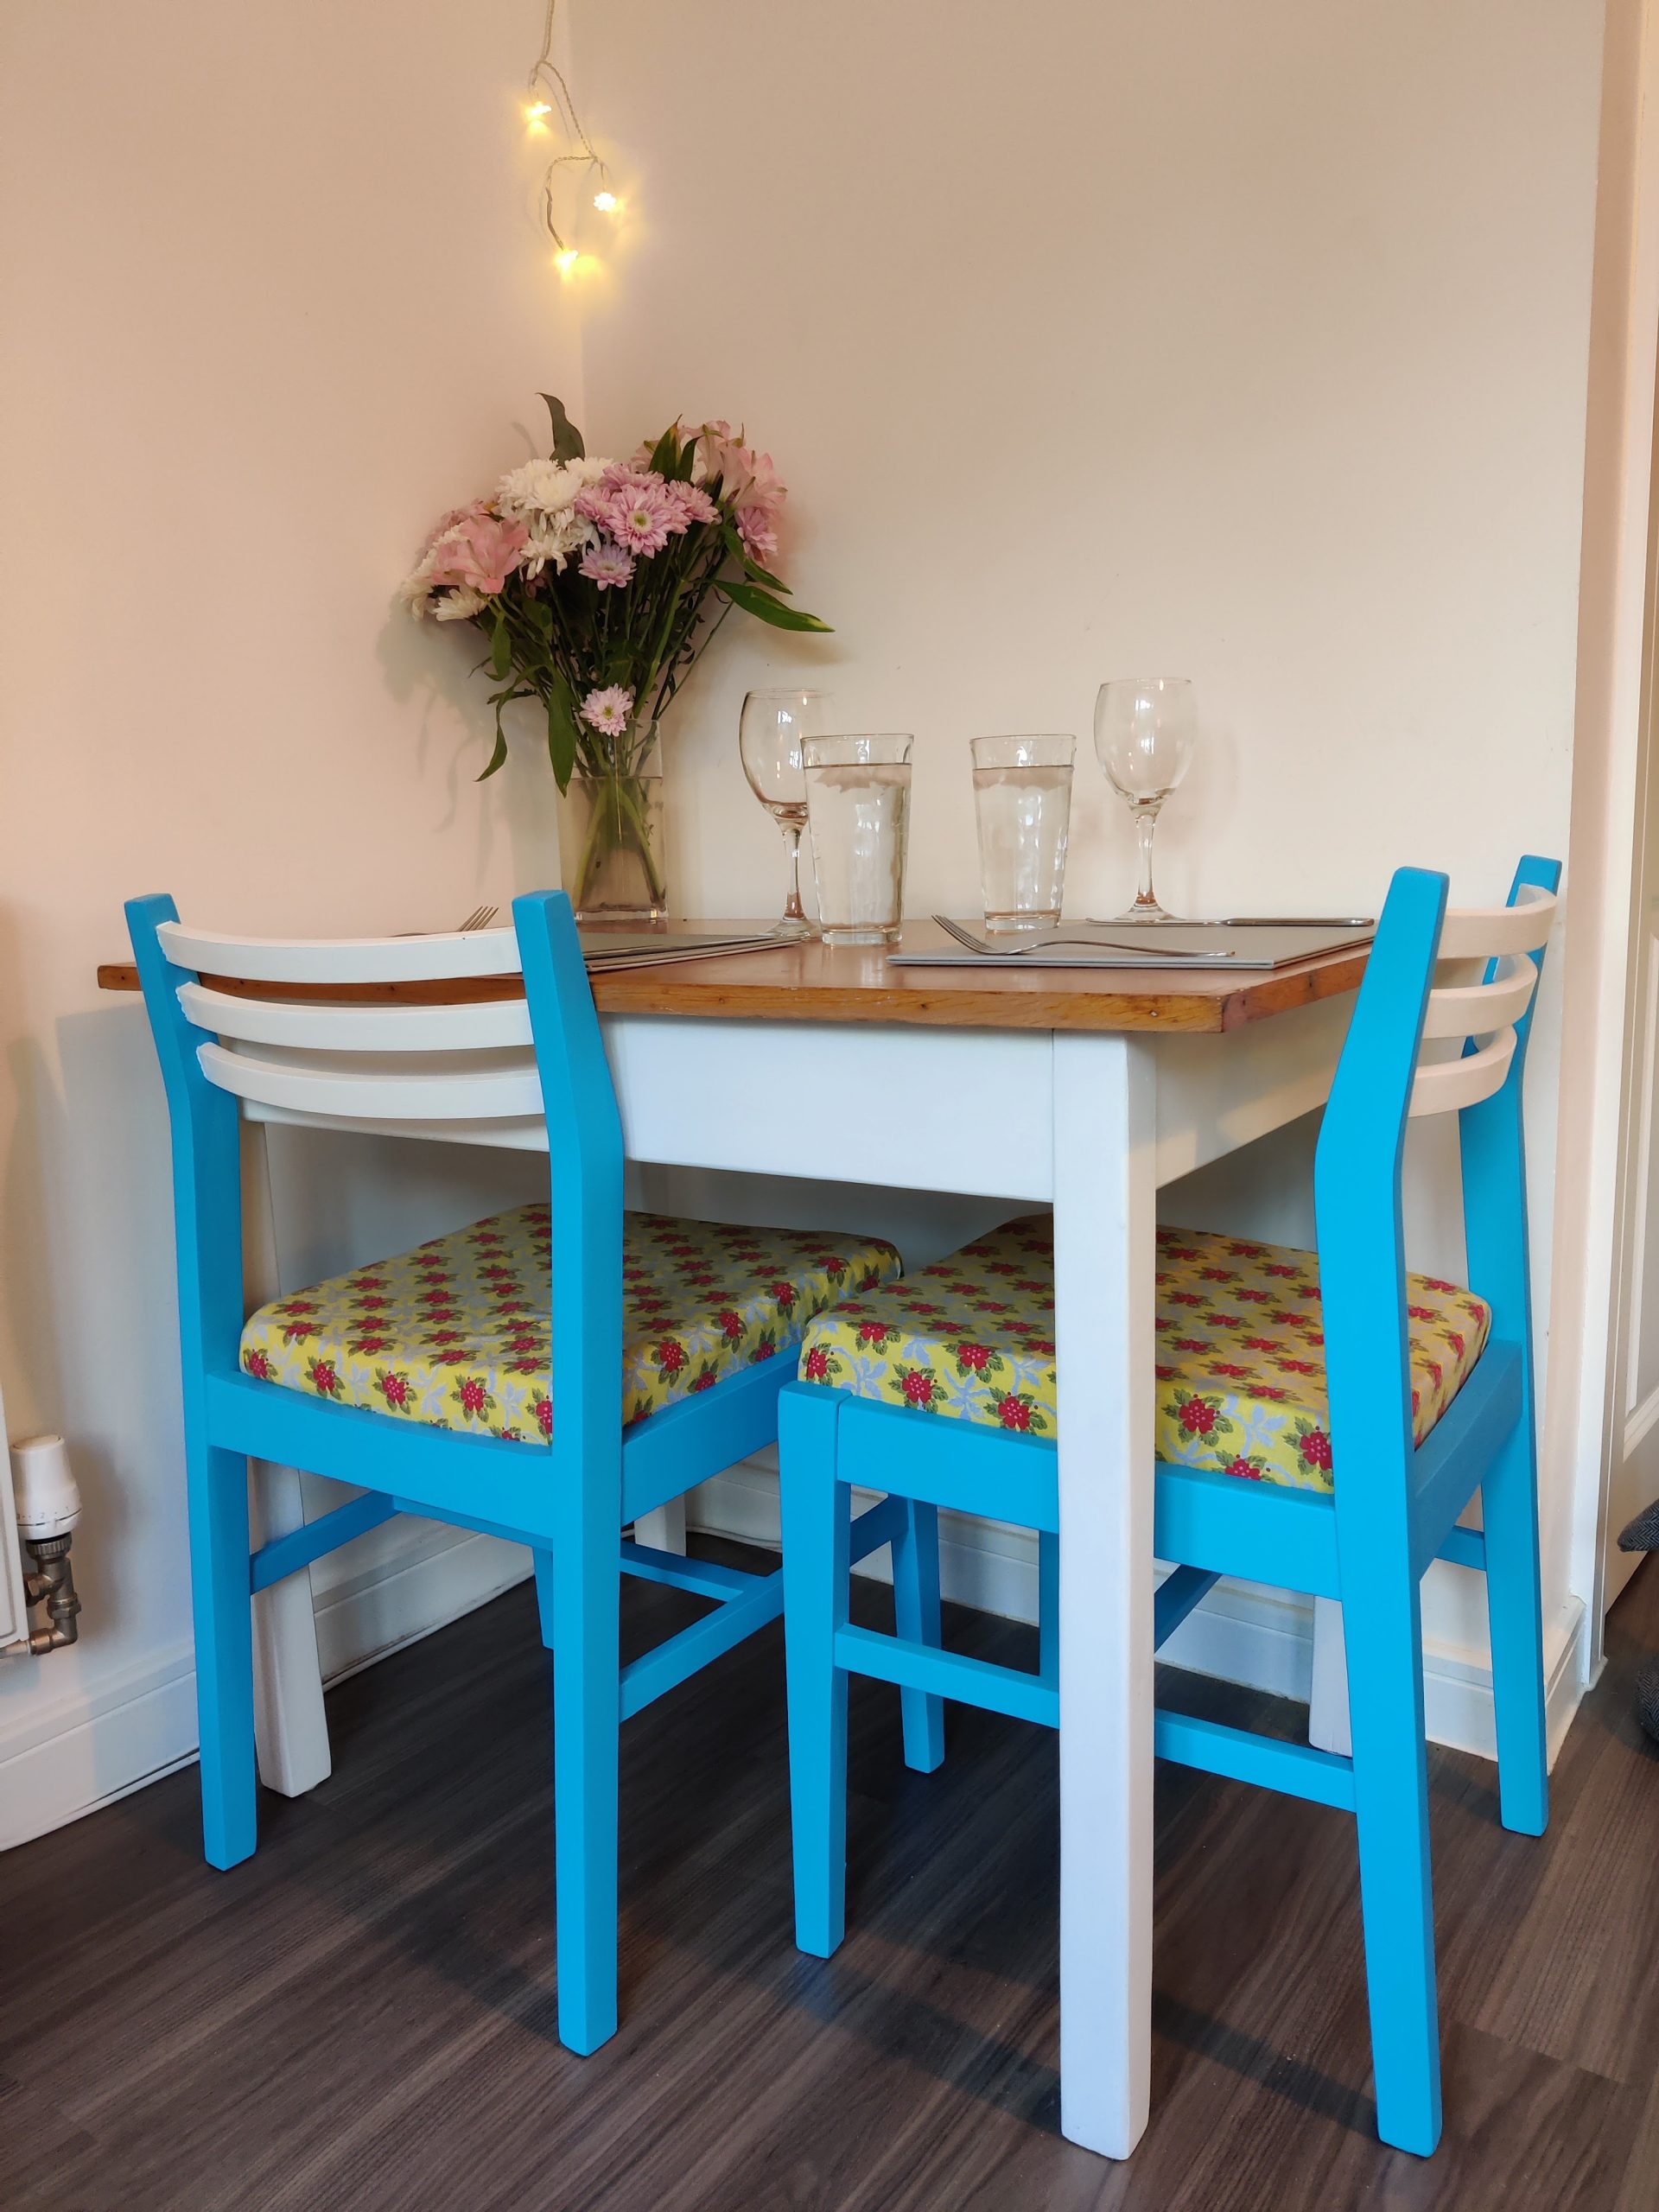
My first adventures into DIYing and upcycling came from lockdown 1.0 when I had inifitely more time than I seem to have now. Being stuck at home, particularly in a rental house and watching hours of Youtubers sharing their DIY tips, I was craving colour in the blank white box of our house. Unable to paint the walls, I started looking at our furniture as my canvas. The table and chairs you see in the photo had been given to us a freebie from my parents when we first moved into our house and were just crying out for renovation.
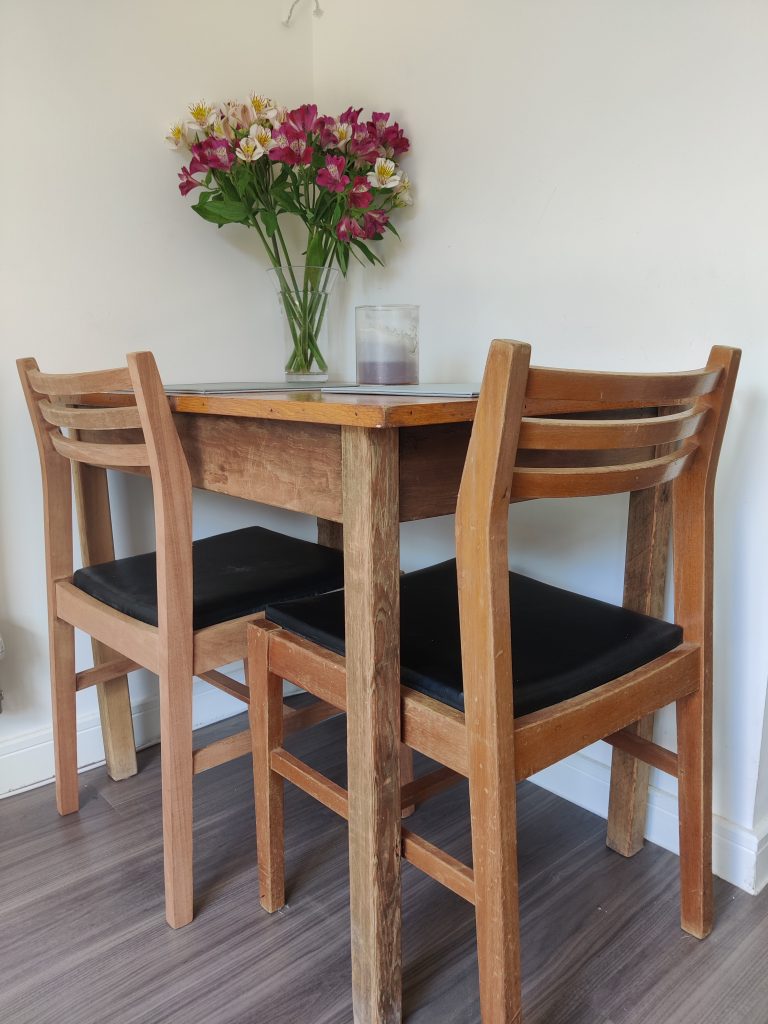
The photo on the left shows the before, pretty boring, fairly uncomfortable leather dining chairs and paired with a fairly orange coloured table.
Equipment needed:
- Table and chairs to upcycle
- Sandpaper of various grits (60, 100, 220, 400)
- Electric palm sander + sanding pads
- Screwdriver (cross point & flat head)
- Sugar soap & cloth
- Masking tape
- Wood primer
- Coloured paint
- Paint brush
- Clear varnish
- Foam seat pads & sharp knife
- Glue gun
- Fabric of choice
- Industrial stapler & staples
Method:
- Start by unscrewing the seat pads from the chairs and set to one side.
- Sand all the wood on the chairs starting with the lowest sand paper grit and work your way to the highest. The majority of the chair could be done with the electric palm sander, whilst for the more fiddly bits use sandpaper.
- Once it’s sanded, wash the chairs down with sugar soap to remove the dust.
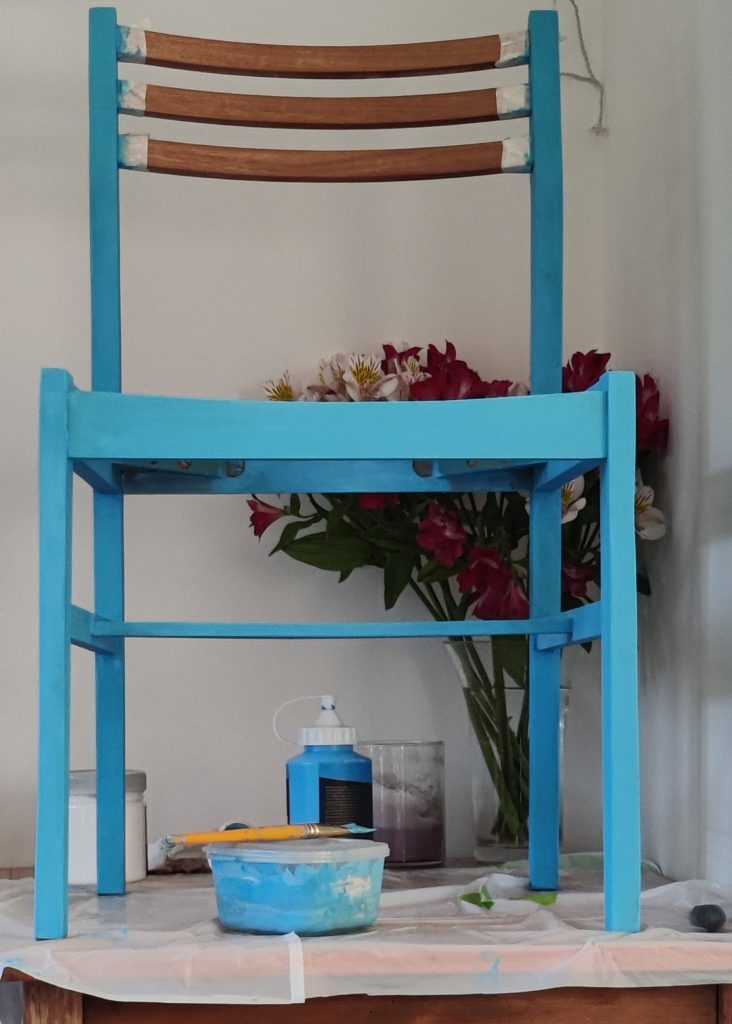
- I decided to make them look a little beach themed, so I masked off the wooden bars as shown.
- Prime and paint 3 coats on the chair, allowing each to dry for the dryng time on the pot.
- I untaped the cross bars, primed and painted those with white paint.
- Once all the paint has dried thoroughly, I used the Rust-Oleum furniture wax to protect the paint.
- Now focus on the seat cushions, using a flat-head screwdriver, I removed the pleather fabric and cushioning as they weren’t in the best condition.
- I bought 4 new, square seat cushions. They were too large for the base so I used a sharp knife to cut them down. This was very difficult and I would recommend buying them in the right size if you can. Once it was the right size, I glue gunned them down to the base.
- I trimmed the fabric to just bigger than the seat pad and then staple down the fabric.
- Reattach the seat bases to the chair.

Now for the table
- I sanded down all the legs, and table top using the same process as the chairs. Start with the lowest grit and keep working towards the highest grit.
- Use more sugar soap to wipe it all down.
- Prime and paint the chairs with the white paint.
- I sealed the legs and base with the same Rust-Oleum furniture wax as I used for the chairs.
- For the top, I used some heavy duty varnish to seal it and left it to dry.
I am so happy with the end result and it really brightened up our rental place.
Thank you for making it to the end of this, my first blog post. Please engage with me by leaving a comment, liking or sharing the joy with someone else. Talk soon, Ellie x