AN UGLY BOOKCASE
AN UGLY BOOKCASE
In dire need of some love and attention, I found this gem of a bookcase when clearing out my Grandparents’ garage recently. Being one of my first upcycled pieces of furniture, I felt a little intimidated to be completely honest with you. With the state it was in, a lack of experience and the huge sentimental value, I felt a lot of pressure to do it justice. I’m so pleased I persevered as it has turned into a real diamond.
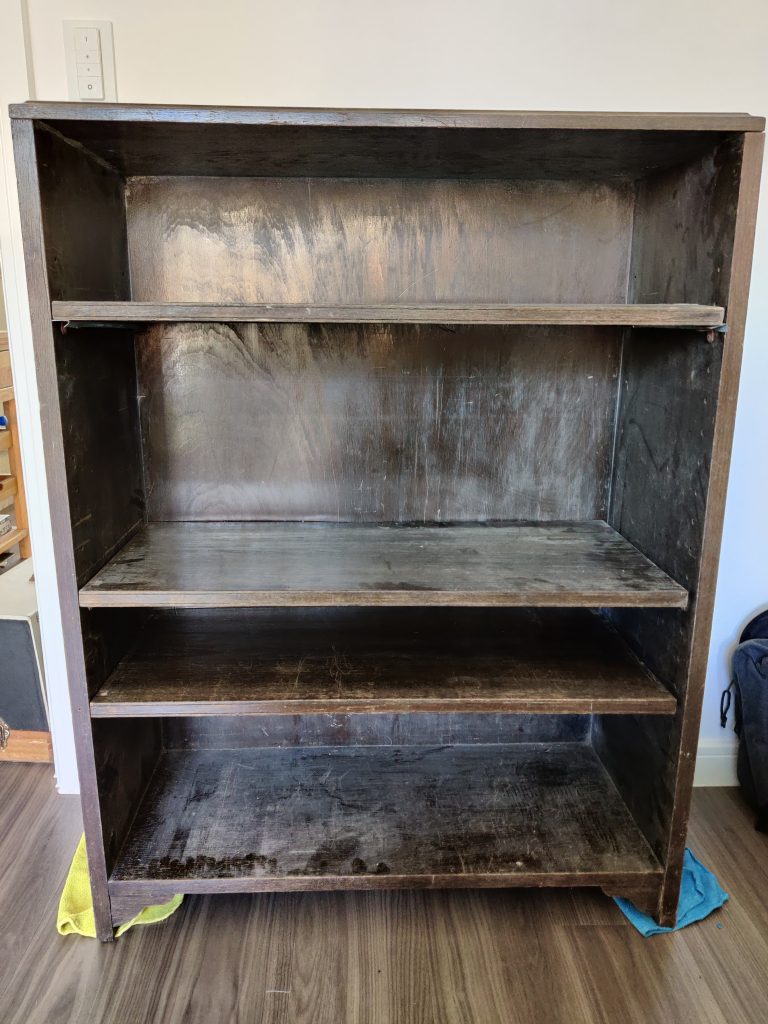
After getting this piece into the house, the first thing I did was gave it a really good clean with some anti-bacterial spray. As you can see in the photo, it was pretty mouldy due to being forgotten at the back of the garage. I managed to clean most of the bookcase apart from the chipboard attached to the back of the bookcase.
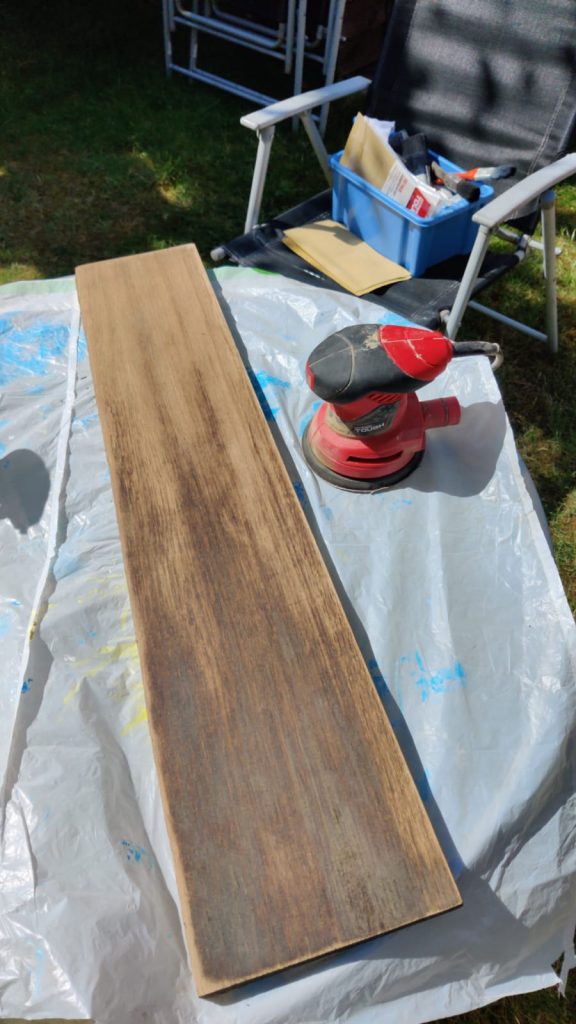
To find out what I was dealing with, I started by sanding one of the shelves to find out what lay beneath the thick, dark varnish which isn’t really to my taste. I started with a 40 grit sand paper and my random orbital sander, it took a while to get through the thick varnish top coat, but once I got through that, this beautiful wood started to show through. As I have mentioned, I am no expert so I couldn’t tell you what type of wood this is, but it’s very pretty.
This discovery of the beautiful wood, spurred me on to complete the rest of the sanding. After a VERY long time and quite a few 40 grit pads, it was time to move on to the higher grits. I sanded all over to the 600 grit sandpaper to try and get as smooth a finish as I could. This was a long process completed over several days.
The top of the bookcase was in a pretty bad shape (unfortunately I don’t have a picture of it), but when I looked more closely, it looked like the wood had little burn marks in it, and it was very uneven- I sanded an even top as best I could.
As many of the burn marks were not coming out, I made the decision to fill the holes in with wood filler from B&Q which seemed to do a good job of evening the top, but the colour did not match. As a result, I decided to paint a layer of all purpose primer and then 2 coats of dark blue acrylic paint on the top, finished off with Rust-oleum’s furniture wax to seal the paint in.
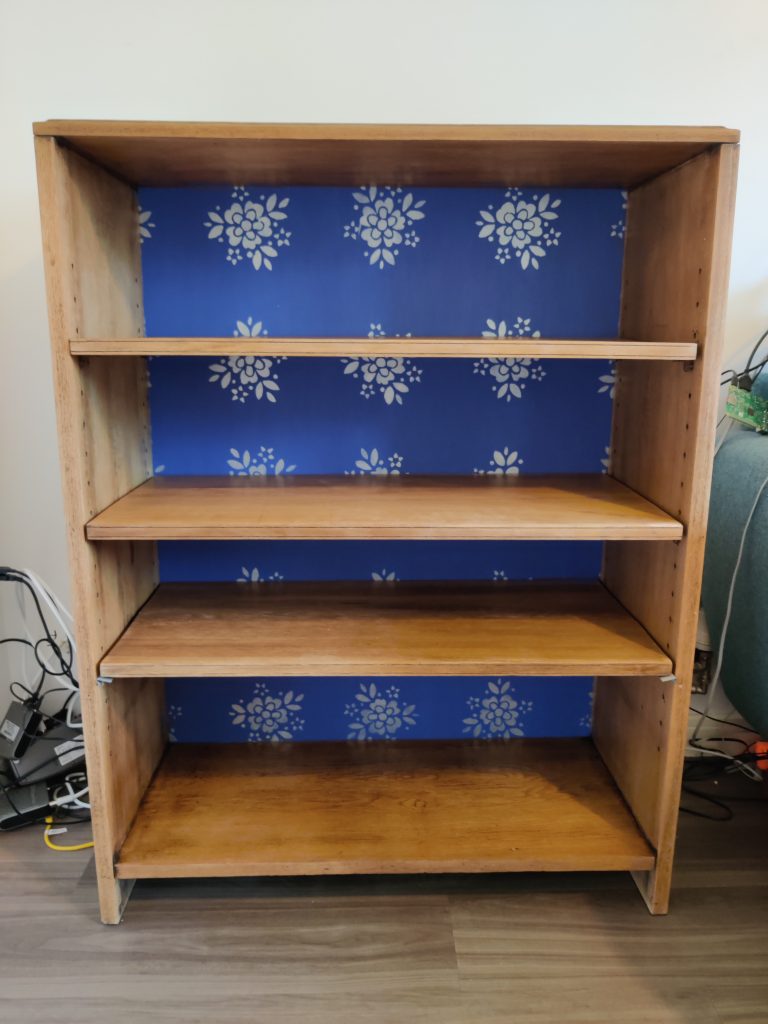
Now for the back panel, I thought I would be able to take it off and maybe have open shelving, but after prising it off, it appeared that the back piece of chipboard was providing the structure for the whole bookcase! After a trip to B&Q for a piece of 3mm MDF and their free cut to size service, I was able to bring the piece of MDF home and consider how to attach it to the main bookcase.
* On a side note, for anyone (like me) who would love to, but simply hasn’t got space or finances for the DIY tools they may desire to own, I would 100% reccommend the B&Q instore cutting service. They will do up to 4 cuts on whatever material you want for free! * (This post ins’t being sponsored, I thought it would be useful to know the service is available)
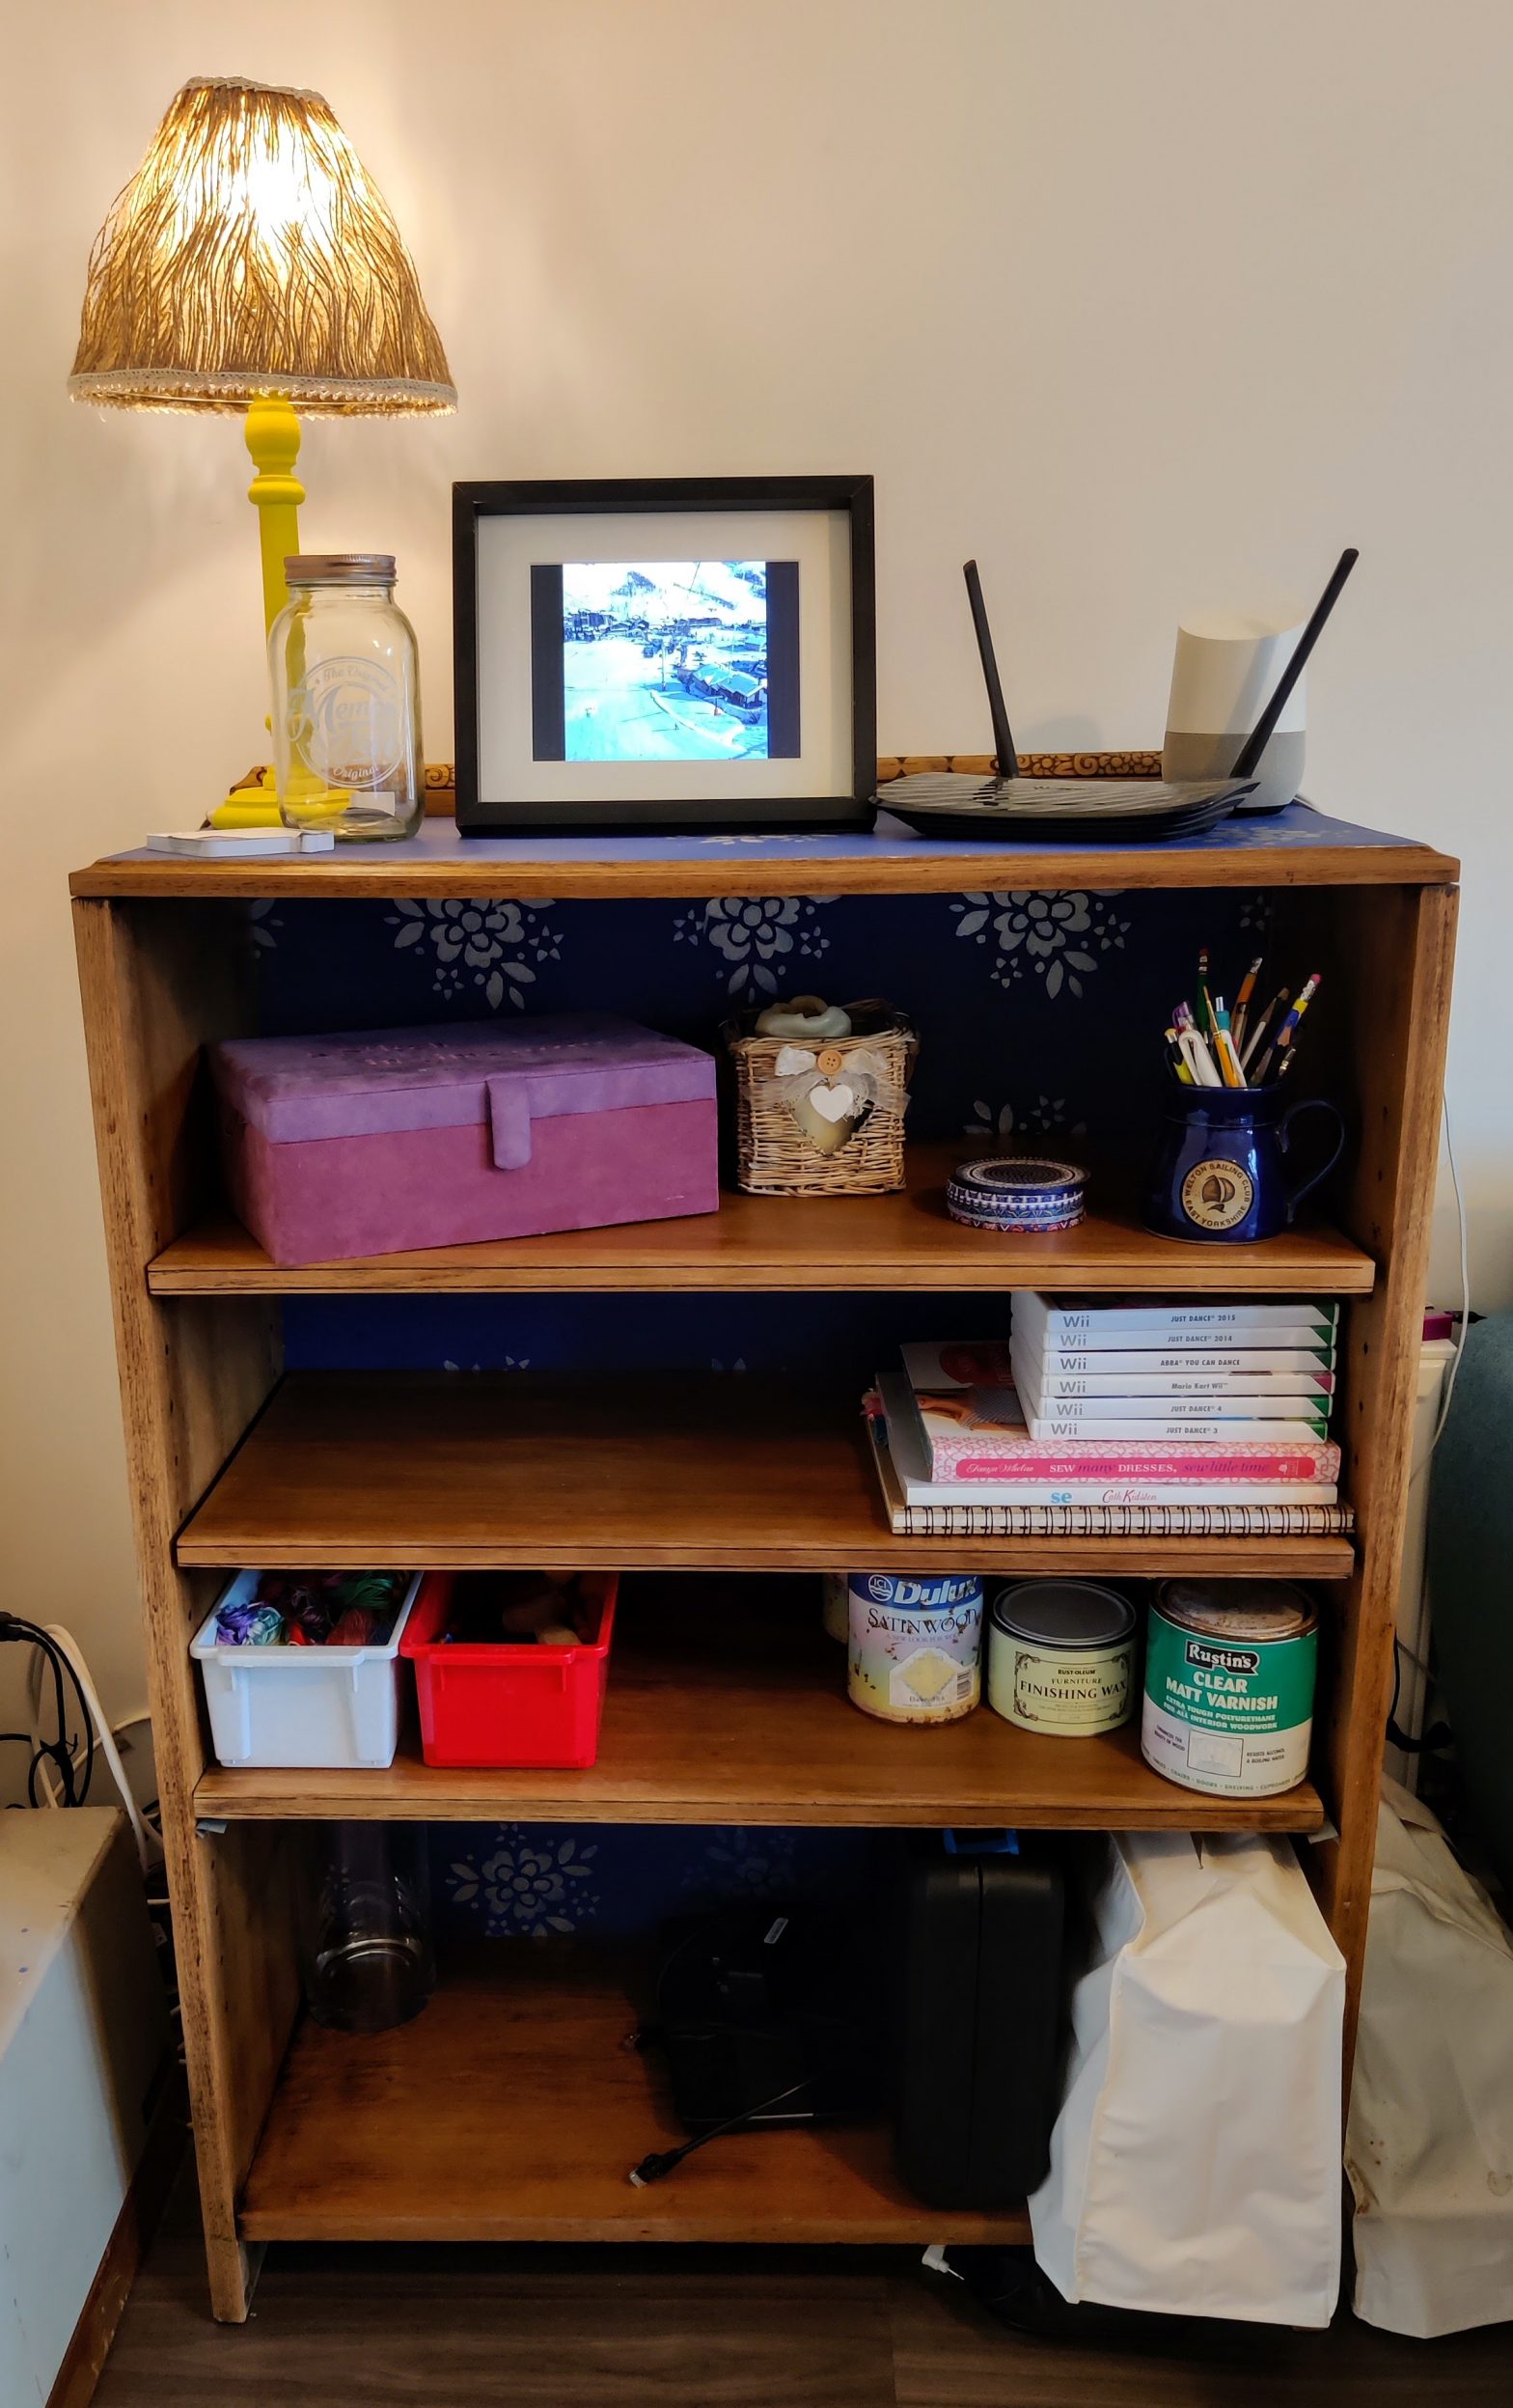
After getting the MDF home, I realised it looked a bit rubbish against the newly refurbished bookcase. So I painted the MDF with 2 coats of the all-purpse primer and dark blue acrylic paint I had used on the top. (We were in lockdown 1.0 so paint was impossible to get hold of at the time!) Deciding the piece needed a little something extra, I made a stencil out of cardboard and used the silver acrylic paint, finished with a layer of Rust-oleum Furniture Wax. The MDF was then secured to the back of the bookcase with wood glue and wood nails for extra support.
The final step was to cover the whole bookcase with 2 coats of a very old tin of bees wax from my mum. The wax was applied, left for 10 minutes as per the instructions and then buffed to the desired level of shine. The great thing about this bookcase is that it not only has very deep shelves for loads of storage but also has huge sentimental value so it has definitely been a success in my book!
Thank you for making it to the end of this blog post, please engage with me by leaving a comment or sharing the joy with someone else you think may find joy in it. Talk soon, Ellie x